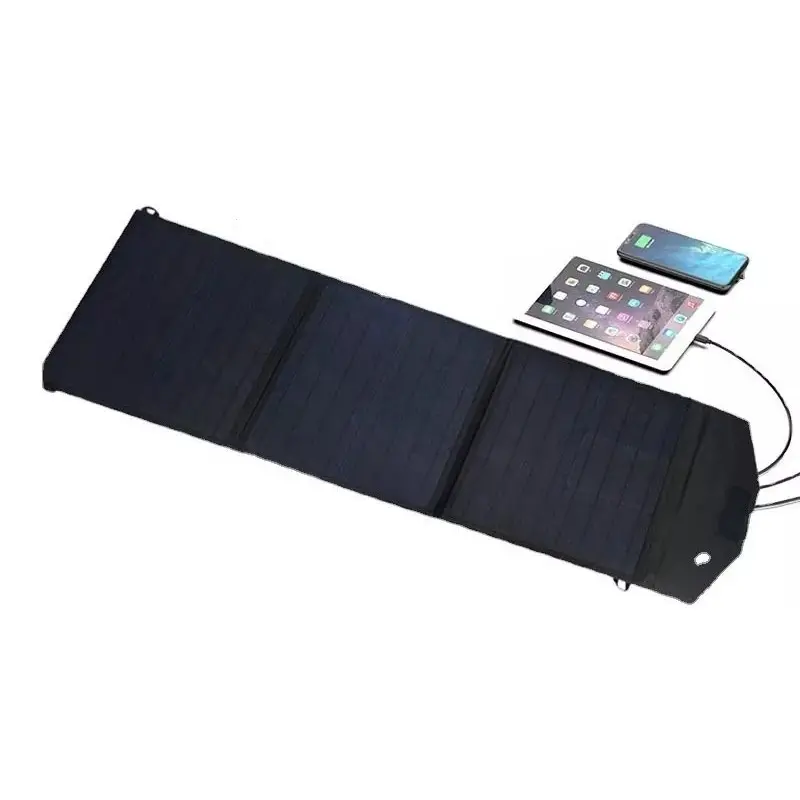
In recent years, solar panels have gained popularity as a clean and renewable energy solution. With the demand for solar panels on the rise, many people are curious about the installation process. In this blog post, we will provide a step-by-step guide on how to install a solar panel, clarifying the technical aspects and basic considerations involved.
1. Site assessment and design:
The first step in installing solar panels is a thorough site assessment. A professional installer will consider factors such as roof orientation, shading analysis and structural integrity to assess the suitability of the location. They also considered the hotel’s energy usage and designed a system tailored to the client’s needs.
2. Licensing and Paperwork:
Installers will need to go through the necessary paperwork and obtain permits from local authorities before starting the installation. This process ensures compliance with local regulations and ensures a safe and legal installation.
3. Roof preparation:
If the site assessment approves installation on the roof, the process begins with preparing the roof. Installers will inspect and repair the roof if needed. In addition, they check its load-bearing capacity to confirm that it can support the weight of the solar panels.
4. Install the shelf system:
Next, install the racking system on the roof. The frame provides structural support and proper ventilation for the solar panels. It also allows for optimal inclination and orientation, maximizing sun exposure and energy production.
5. Wiring and electrical connections:
The next step is to connect the solar panels to the electrical system. Installers carefully connect the panels and connect them to the inverter using DC cables. The inverter converts the direct current generated by the panels into alternating current, which can power household appliances.
6. Install the solar panel:
Once the racking system is in place, the solar panels are carefully mounted on it. Professional installers ensure proper spacing, alignment and secure connections. These panels are connected together to form a complete solar array, allowing for efficient energy production.
7. Grid connection and net metering:
Once the solar panels are securely installed, the system is connected to the grid. This step involves installing a two-way electricity meter that tracks the solar energy produced and the energy consumed by the grid. It supports net metering, allowing homeowners to earn credits for the excess electricity they generate and contribute back to the grid.
Eight, testing and debugging:
Before completing the installation, the system goes through a rigorous testing and commissioning process. This ensures that all components are functioning properly and that there are no leaks or malfunctions. These tests include checking electrical connections, verifying correct voltage output, and confirming system integrity.
in conclusion:
Solar panel installation is a meticulous process that involves careful planning, technical expertise and adherence to safety guidelines. By following the steps above, professionals can ensure the successful integration of solar energy into their homes and businesses. As renewable energy grows, understanding how solar panels are installed enables individuals to make informed decisions and embrace sustainable alternatives for a brighter future.
Post time: Jun-24-2023
